I am going to describe four methods of taking up-close photos, in approximate ascending order of cost. Then I’ll show some pictures, all of the same subject, taken with each of those methods for comparison’s sake.
The first step is to determine the capabilities of your equipment. How close can you place your camera/lens to the subject and still be able to focus on it? The closer you can get (all other things being equal), the larger the image on the sensor will be. The closest possible focusing distance is usually included in the camera/lens specifications from the manufacturer, but is easy to check. The procedure is very similar for point and shoots (P&S) and cameras with interchangeable lenses. Use a subject with high contrast and sharp edges that will make it easy to see it is in focus. I usually use a printed page, a coin or a postage stamp. Put the camera in a specific location (using a tripod if you have one handy) and position the subject relatively far away from the camera. Keep moving it closer to the camera until you find the point at which you cannot achieve focus. Try this both with auto-focus and manual focus. You can also do this test by moving the camera rather than the subject.
There is a complication: results will vary depending on focal length of the lens. For some zooms, the longer the focal length, the greater the minimum focus distance; for others the opposite is true. Do the test with each lens. When testing a zoom lens (either on a P&S or an interchangeable lens), check the focusing distance at 3 focal lengths: shortest, longest and halfway in between.
In addition, check any alternative picture taking and/or focusing modes the camera has, especially if you have a P&S you purchased recently. Many contemporary P&S cameras have a macro or macro-focus mode, and these can work very well. For example, most of the latest Panasonic Lumix P&S cameras have a focus mode labelled “macro AF” that allows good up-close auto-focus (as well as manual focus).
Once you know how close you can get your equipment to your plants, what next? Pick some subjects where your goal is to get detailed close up shots and make some images at or near the closest possible camera to subject distance. If the resulting shots achieve your goals, your current equipment is fine for your purposes… but don’t be surprised if you find yourself wanting to get closer. It is analogous to wildlife photographers coveting longer lenses!
Close-up filters (usually under $25.00)
Once you decide you want to extend your camera’s capabilities, the simplest way to do so are so-called ‘magnification’ filters. These usually come in sets of 3-4 filters with different degrees of magnification (e.g., 1X, 2X, 4X and 10X). They work on any camera/lens that has threads for filters such as polarizing or haze filters. The camera also has to have a live view or a viewfinder that displays the image as it appears on the sensor. This gives the ability to see the effects produced by the filter while taking the photo. Virtually any camera with interchangeable lenses will have these characteristics. Most P&S cameras will have appropriate live view screens, but the ability to add filters on the front of the lens is rare in P&S cameras. If your only camera is a P&S that lacks these features, and also lacks a macro mode, further exploration of up-close will involve a new camera. In recent years, however, macro-focus capabilities have become increasingly common in P&S cameras. With these magnification filters, as well as with diopters and extension tubes, it is a very good idea to bring your camera to your local photo store to make sure you end up with the right gear.
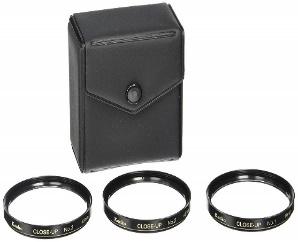
The close-up filters are simply screwed onto the front of the lens. The diameters of the thread on the lens (the diameter of the round part of the lens, not its focal length) and on the filter must be the same. The diameter of the threads on your lens will usually be embossed or printed somewhere on or near the lens, often with a phi symbol (Ф). These diameters are usually between 35mm and 72mm. If you cannot find a match of diameters, there are inexpensive step-up adapters available. For example, if you have a lens with a 52mm diameter and a filter with a 58mm diameter you can use a 52-58mm step-up adapter.
As might be expected from their low cost, these add-ons give poor image quality, especially in terms of resolution. They consist of a single, low-cost piece of glass for the light to travel through on its way to your sensor. But in this case, low cost means low quality, and that extra piece of glass degrades resolution. But they do provide a good way to determine if up-close photography is appealing to you as long as you realize that much better image quality, especially sharpness, will be obtained with any of the other options.
Diopters and extension tubes
If your initial exploration of up-close photography gets you interested in it, there are two moderately costly ways to check out up-close photography with very good image quality: diopters and extension tubes.
Diopters ($75-$150).
Diopters attach to your camera and are used exactly like the magnification filter sets described above. They screw onto threads on the front of your lens, and they look pretty much the same as the cheaper ones. But when you pick one up you’ll find they are significantly heavier, and when you take a close look at them you will see two pieces of glass built into the diopter, which work together to allow close focus. They use better quality glass, and result in much better image quality than do the inexpensive single glass filters. They only come in a limited number of diameters, so step-up adapters may be needed. But these have no effect on image quality as long as the diopter has a larger diameter than the lens. It is possible to buy filters with a smaller diameter than that of the lens, and use a step-down adapter. But using step-down adapters runs the risk of cutting off corners of the image.
The cost of a diopter depends heavily on its diameter, with larger diameters being more expensive. Although diopters are more costly than magnification filters, they give excellent value for their cost. Image quality is very good and they are useful in several contexts. I own several of these and I use them often although I also own very good macro lenses. Diopters come in handy on zoom lenses because having the zoom capability makes it easier to control the composition and there are very few zoom macro lenses available. They are also useful with some prime (fixed focal length) regular lenses. I often use my diopters with my 45mm micro4/3 prime lens for shots where very shallow depth of field is needed because this prime lens allows large lens apertures (up to f/1.2). In other words, if you like to do macro, you’ll always find diopters useful.
Extension tubes ($25 – $150)
If you have a camera with interchangeable lenses, another option is extension tubes. These are hollow tubes that mount between camera and lens. You take the lens off your camera, attach the tube to the lens mount, and then attach the lens to the tube. This increases the distance between lens and camera sensor allowing greater magnification. Since they have no glass, they do not affect image quality, although light intensity on the sensor decreases somewhat. Extension tubes need to be compatible with the lens mount on your camera, and they usually come in sets of 2 or 3 different lengths. As the length increases so does the degree of magnification, and tubes can be combined for greater effect (as is also true of magnification filters and diopters).
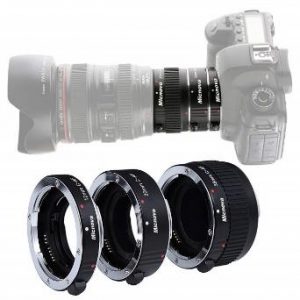
The cost of extension tubes depends upon several factors, especially the camera mount required and whether the tubes come with or without electronic communication with the camera. Tubes without the electronic contacts are harder to use. They require manual focus, and in most cases, manual setting of aperture and shutter speed, but are less expensive. I used to recommend these partly for their relative low cost and partly because manual focus and exposure control are often preferable in macro situations. The cost of tubes with electronic connections have come down quite a bit, however, and you should look at what is available for your camera mount. Extension tubes with electronic connections allow fully operational control of focus and exposure. Again, bring your camera to a local store to check compatibility or make sure you have return privileges if purchasing online.
Buying a macro lens.
If you decide to make up-close work an important part of your photography, consider buying a macro lens. These lenses are designed specifically to focus on subjects very close to the lens and most give excellent image quality, better than diopters or extension tubes. These lenses are more flexible than magnifying filters, diopters or extension tubes. Any particular tube, filter or diopter has a fixed magnification and can only focus over a narrow range of distances. Changing the degree of magnification requires changing the diopter or tube, giving you a limited choice of magnifications. In contrast, macro lenses focus continuously over a wide range of distances. Since the degree of magnification changes as focus distance changes, you have continuous control of magnification over a these distances. This has a practical advantage since you don’t have to switch lenses to change magnification. These lenses also give much greater control over the appearance of your images since you can choose from a continuous range of magnification ratios and, therefore, the relative size of your subject in the image.
Specific discussion of different makes and models of macro lenses is not appropriate here because much depends on the camera mount (Nikon F, Canon EF, Sony, Micro Four Thirds and so forth), and manufacturer (several companies such as Tamron or Sigma also make macro lenses). It is pretty easy to find reviews online from independent sites that do their own testing. My favorite is this photography blog: https://www.photographyblog.com/news/.
There are several general considerations to be kept in mind when choosing a macro lens. Focal length is important, because longer focal lengths have several advantages. If you’re working with animals that are easily disturbed or capable of biting or stinging, longer lenses work better. They also allow more room for arranging lighting if artificial illumination is being used. Aperture also matters. Wider apertures (low f-stop numbers) make for narrow depth of field, which can help isolate the subject from the background. Small apertures increase depth of field, allowing more of the scene to be in focus.
You can find good value on the used market. Many excellent lenses from the past can be purchased for reasonable prices, especially lenses without auto-focus or auto exposure. If you are doing up-close work with subjects that don’t move very much, the automatic features are relatively unimportant since there is usually plenty of time to focus and determine proper exposure. There are a number of reputable, well-established companies that sell used lenses (and cameras) with 30-day, no questions asked return policies, which give the buyer enough time to detect deficiencies in the equipment.
Comparisons
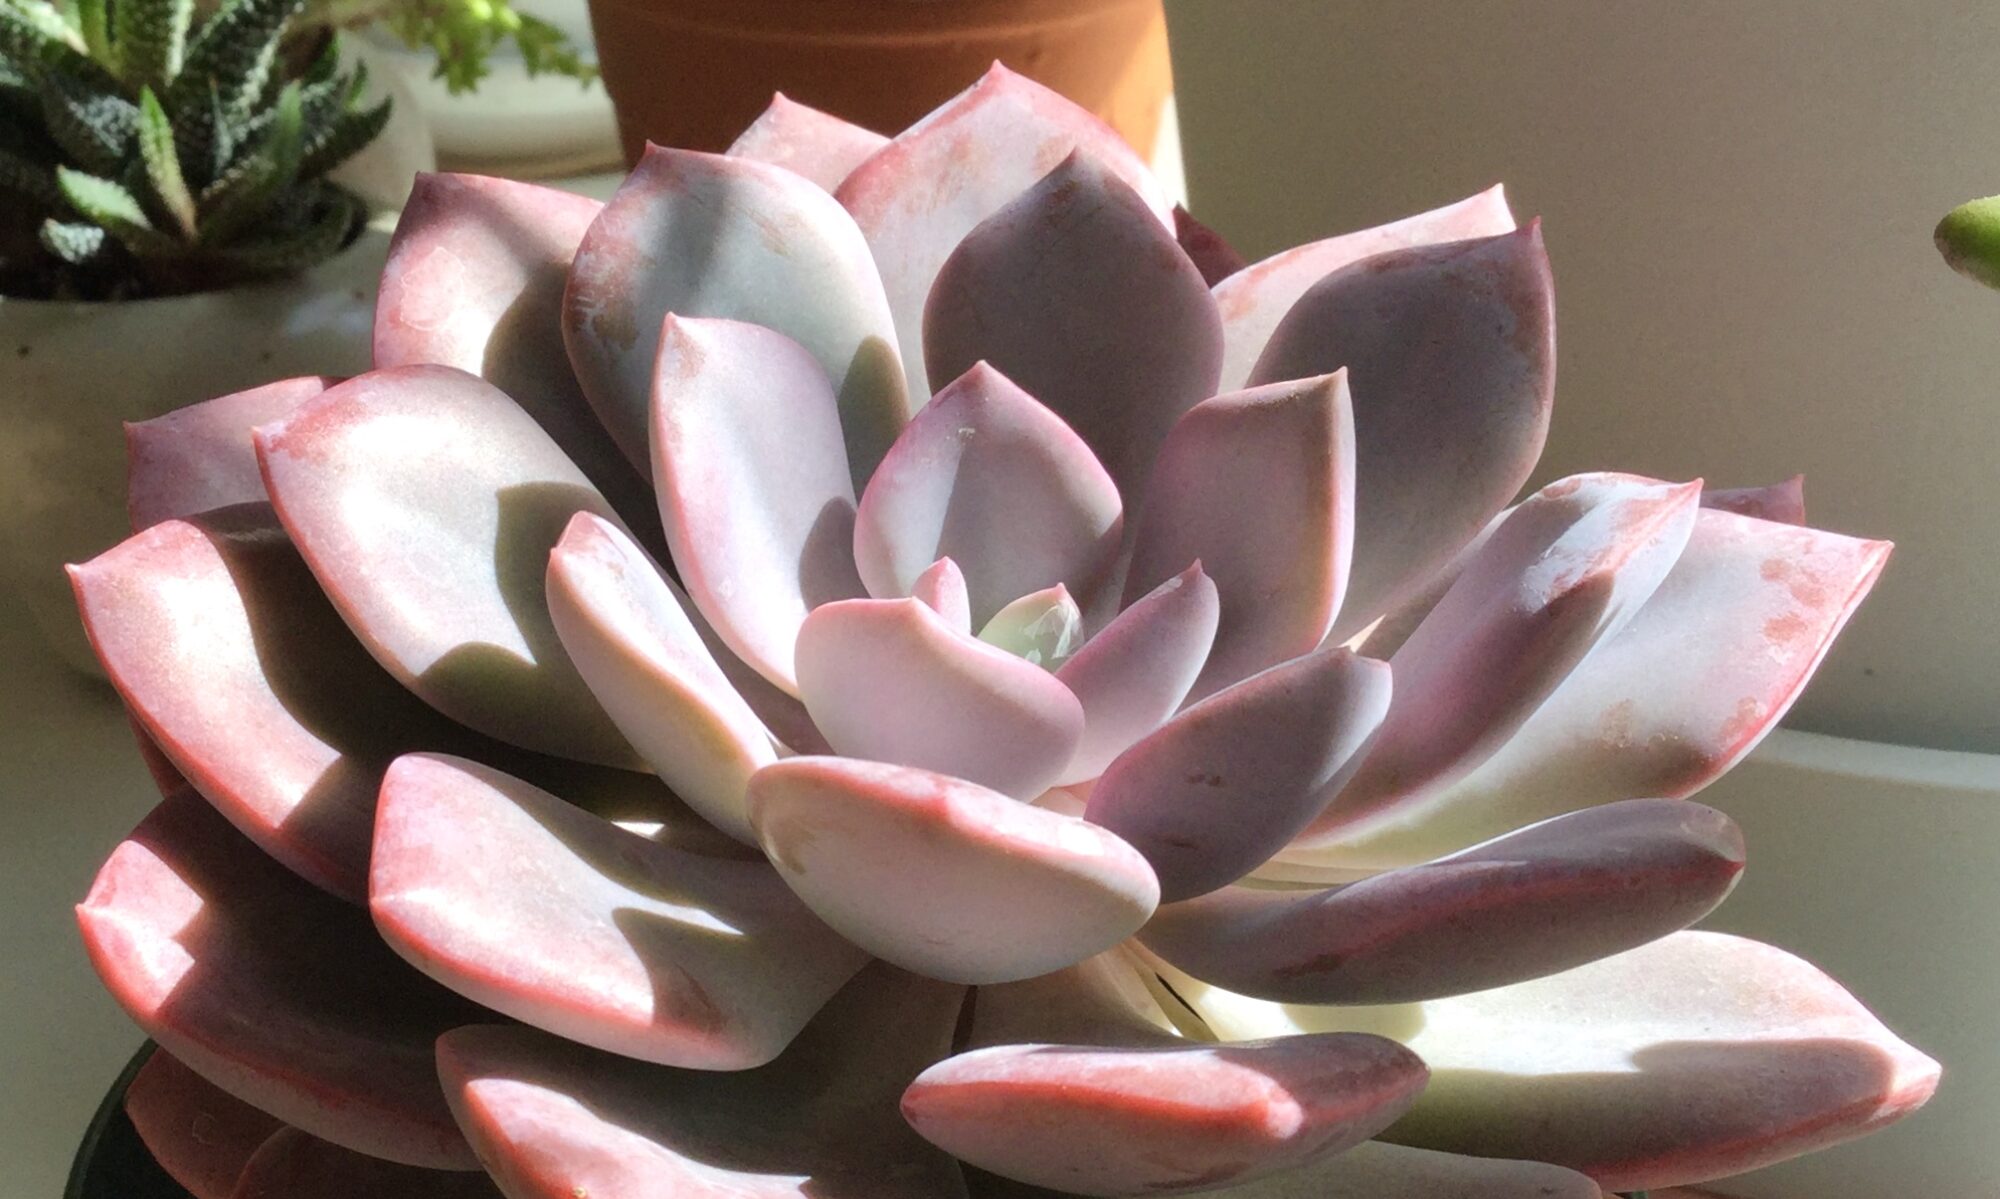
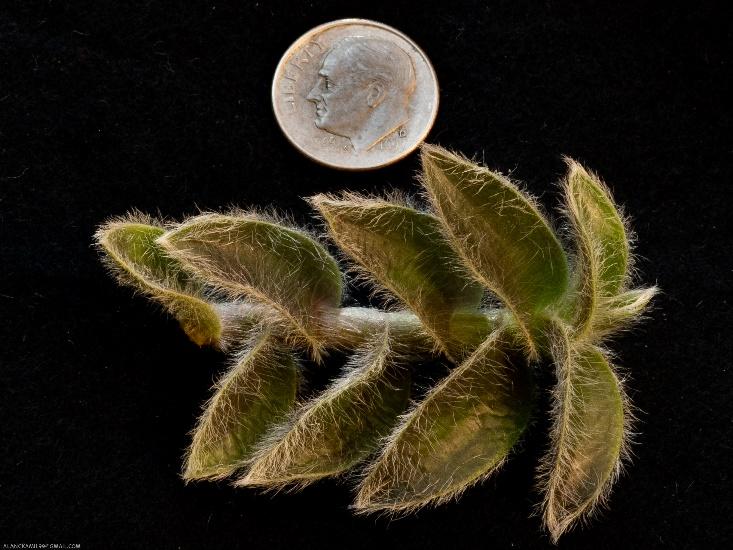
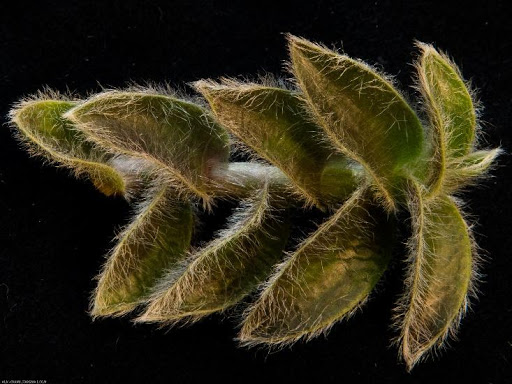
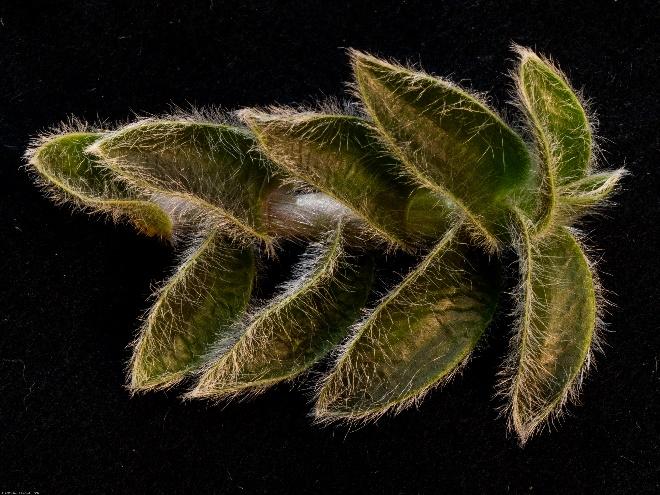
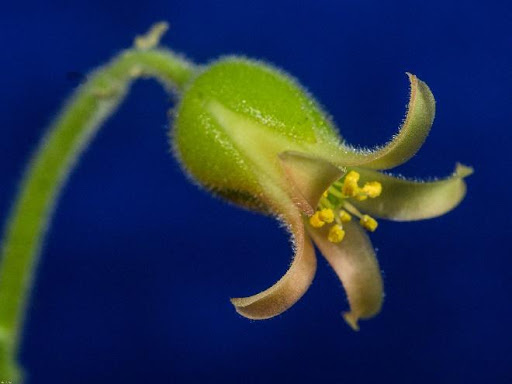
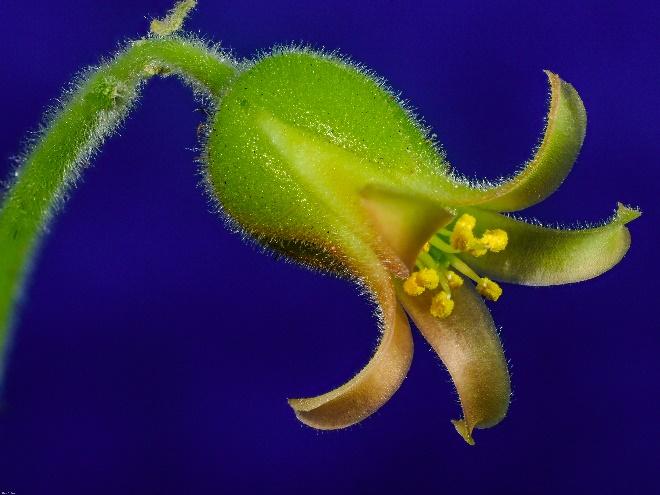
In this section I have taken a single subject, a small branch of leaves from a pussy ears (Cyanotis somaliensis) that has the tiny blue flowers in the image on the first page above), and taken pictures of it with different types of equipment to give you visual comparisons. What you see when comparing these images will depend a lot on the screen you are looking at. The smaller the screen and/or the lower its resolution, the less likely you are to see the differences in sharpness. On a small cell phone screen with poor resolution, they will almost certainly be invisible. On a 27-inch high res monitor they will be evident.
First I took this picture of the branch with my 45mm prime lens which I used throughout except for the example taken with a macro lens. I included a dime in the image to give you an idea of the actual size of the branch and leaves.
Then I took four pictures of the branch without the coin: with an inexpensive magnifier, with a diopter, with an extension tube and with my 65mm macro lens. I kept everything as constant as possible, using cropping as necessary (mostly of the macro lens image to compensate for different focal length) so that the final images are the same size (and therefore at the same amount of magnification between the original branch and the final images).


Then I used cropping in Lightroom to concentrate on details.


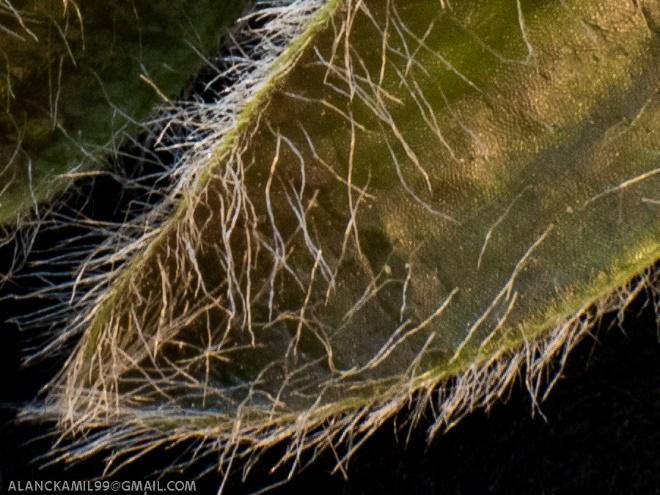
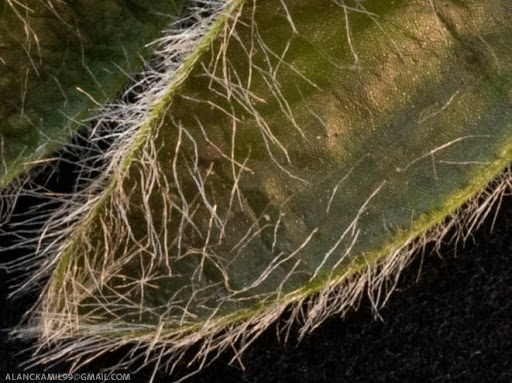
To my eyes, the magnifying filter is clearly less sharp than the diopter, which is a bit less sharp than the extension tube, which is a little less sharp than the macro lens. Although the differences in these test photos are not dramatic, they are significant. Sharpness can make a huge difference.
Consider these two images of a Cotyledon ladysmithensis taken one after another, with just one difference, a slight change in focus point. My point is not that one of these is the better image, although I personally prefer the second one. The point is, they are very different images and whichever image you prefer and no matter how great your equipment, if you miss the focus point you want, the resulting image will not make you happy.
Finally, at least for this post, is that whether a particular piece of photo equipment is worth obtaining depends on the goals of the photographer and the use to which the images will be put. At the beginning of this post, I described how to determine whether your current equipment is sufficient for your up-close photography by saying that if your images “… achieve your goals, your current equipment is fine for your purposes.” In the case of macro work, the main consideration is how large you want your finished images to be, proportionate to the size of the subjects (in other words, magnification). The greater the magnification the more important sharpness/resolution.
Coming next: The next post will continue to discuss focus, which is a major practical challenge in up-close/ macro photography. As the distance between camera and subject gets shorter, depth of field gets narrower, which makes precise focus more difficult. I’ll cover techniques up-close photographers use to control focus precisely which will lead to consideration of depth of field, including using it as a tool for producing interesting and effective images.
You can find the next in this series here