
Manual focus (MF) gives me the best results in most situations in which the subject is either stationary or moving slowly and predictably. But there are situations in which autofocus (AF) is more practical. I have found that AF can be significantly better than MF when the size of the feature I want is similar to the size of the AF point. This is especially true when that feature is surrounded by other features that are similar in distance from the camera, making precise focus difficult. There is, however, a challenge using AF that does not arise when using MF.
When focusing using MF, the point of maximal sharpness (which I call the focal point) can be located anywhere in the image quite naturally. You look at the image in live view, use the focus ring, and the focal point can be anywhere in the image. But when using AF, the AF algorithm chooses the focal point and this introduces an additional factor, separating the process of focusing from the process of composing the image. In my last post I described an approach to this challenge by pressing the shutter button halfway down, which freezes focus until the shutter is activated by fully depressing the button.
Let’s take a closer look at using AF in our photography.
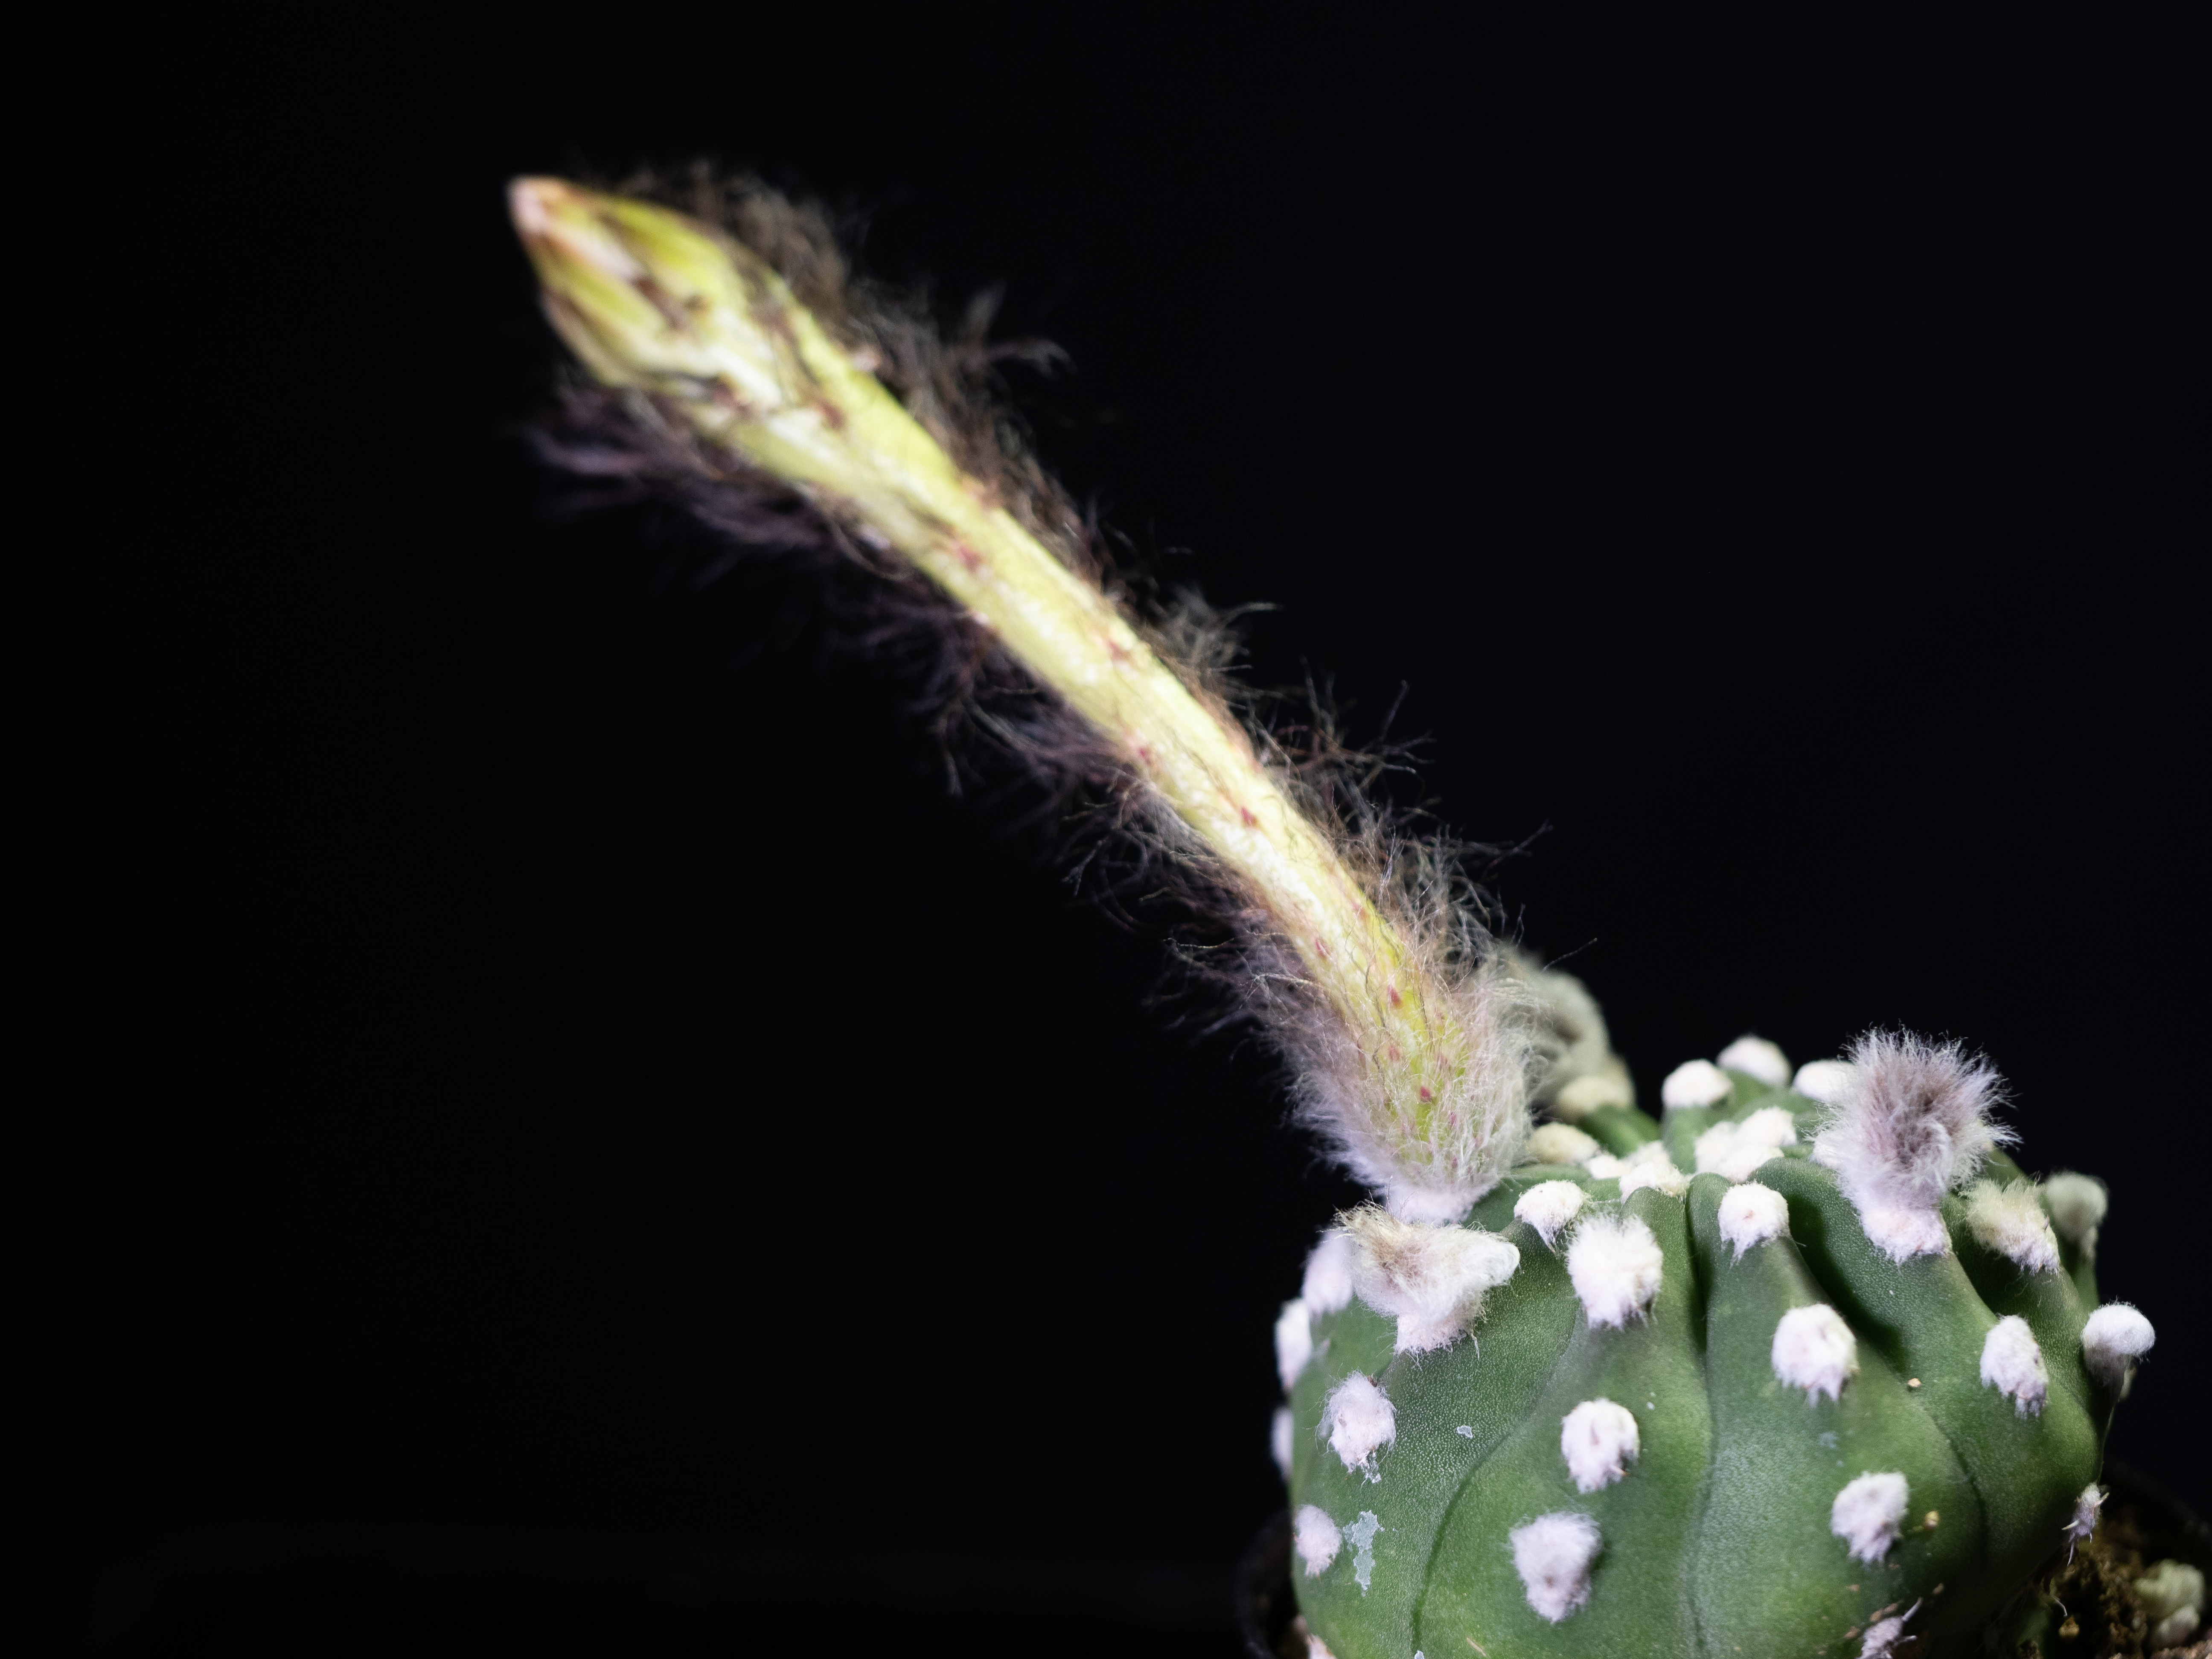
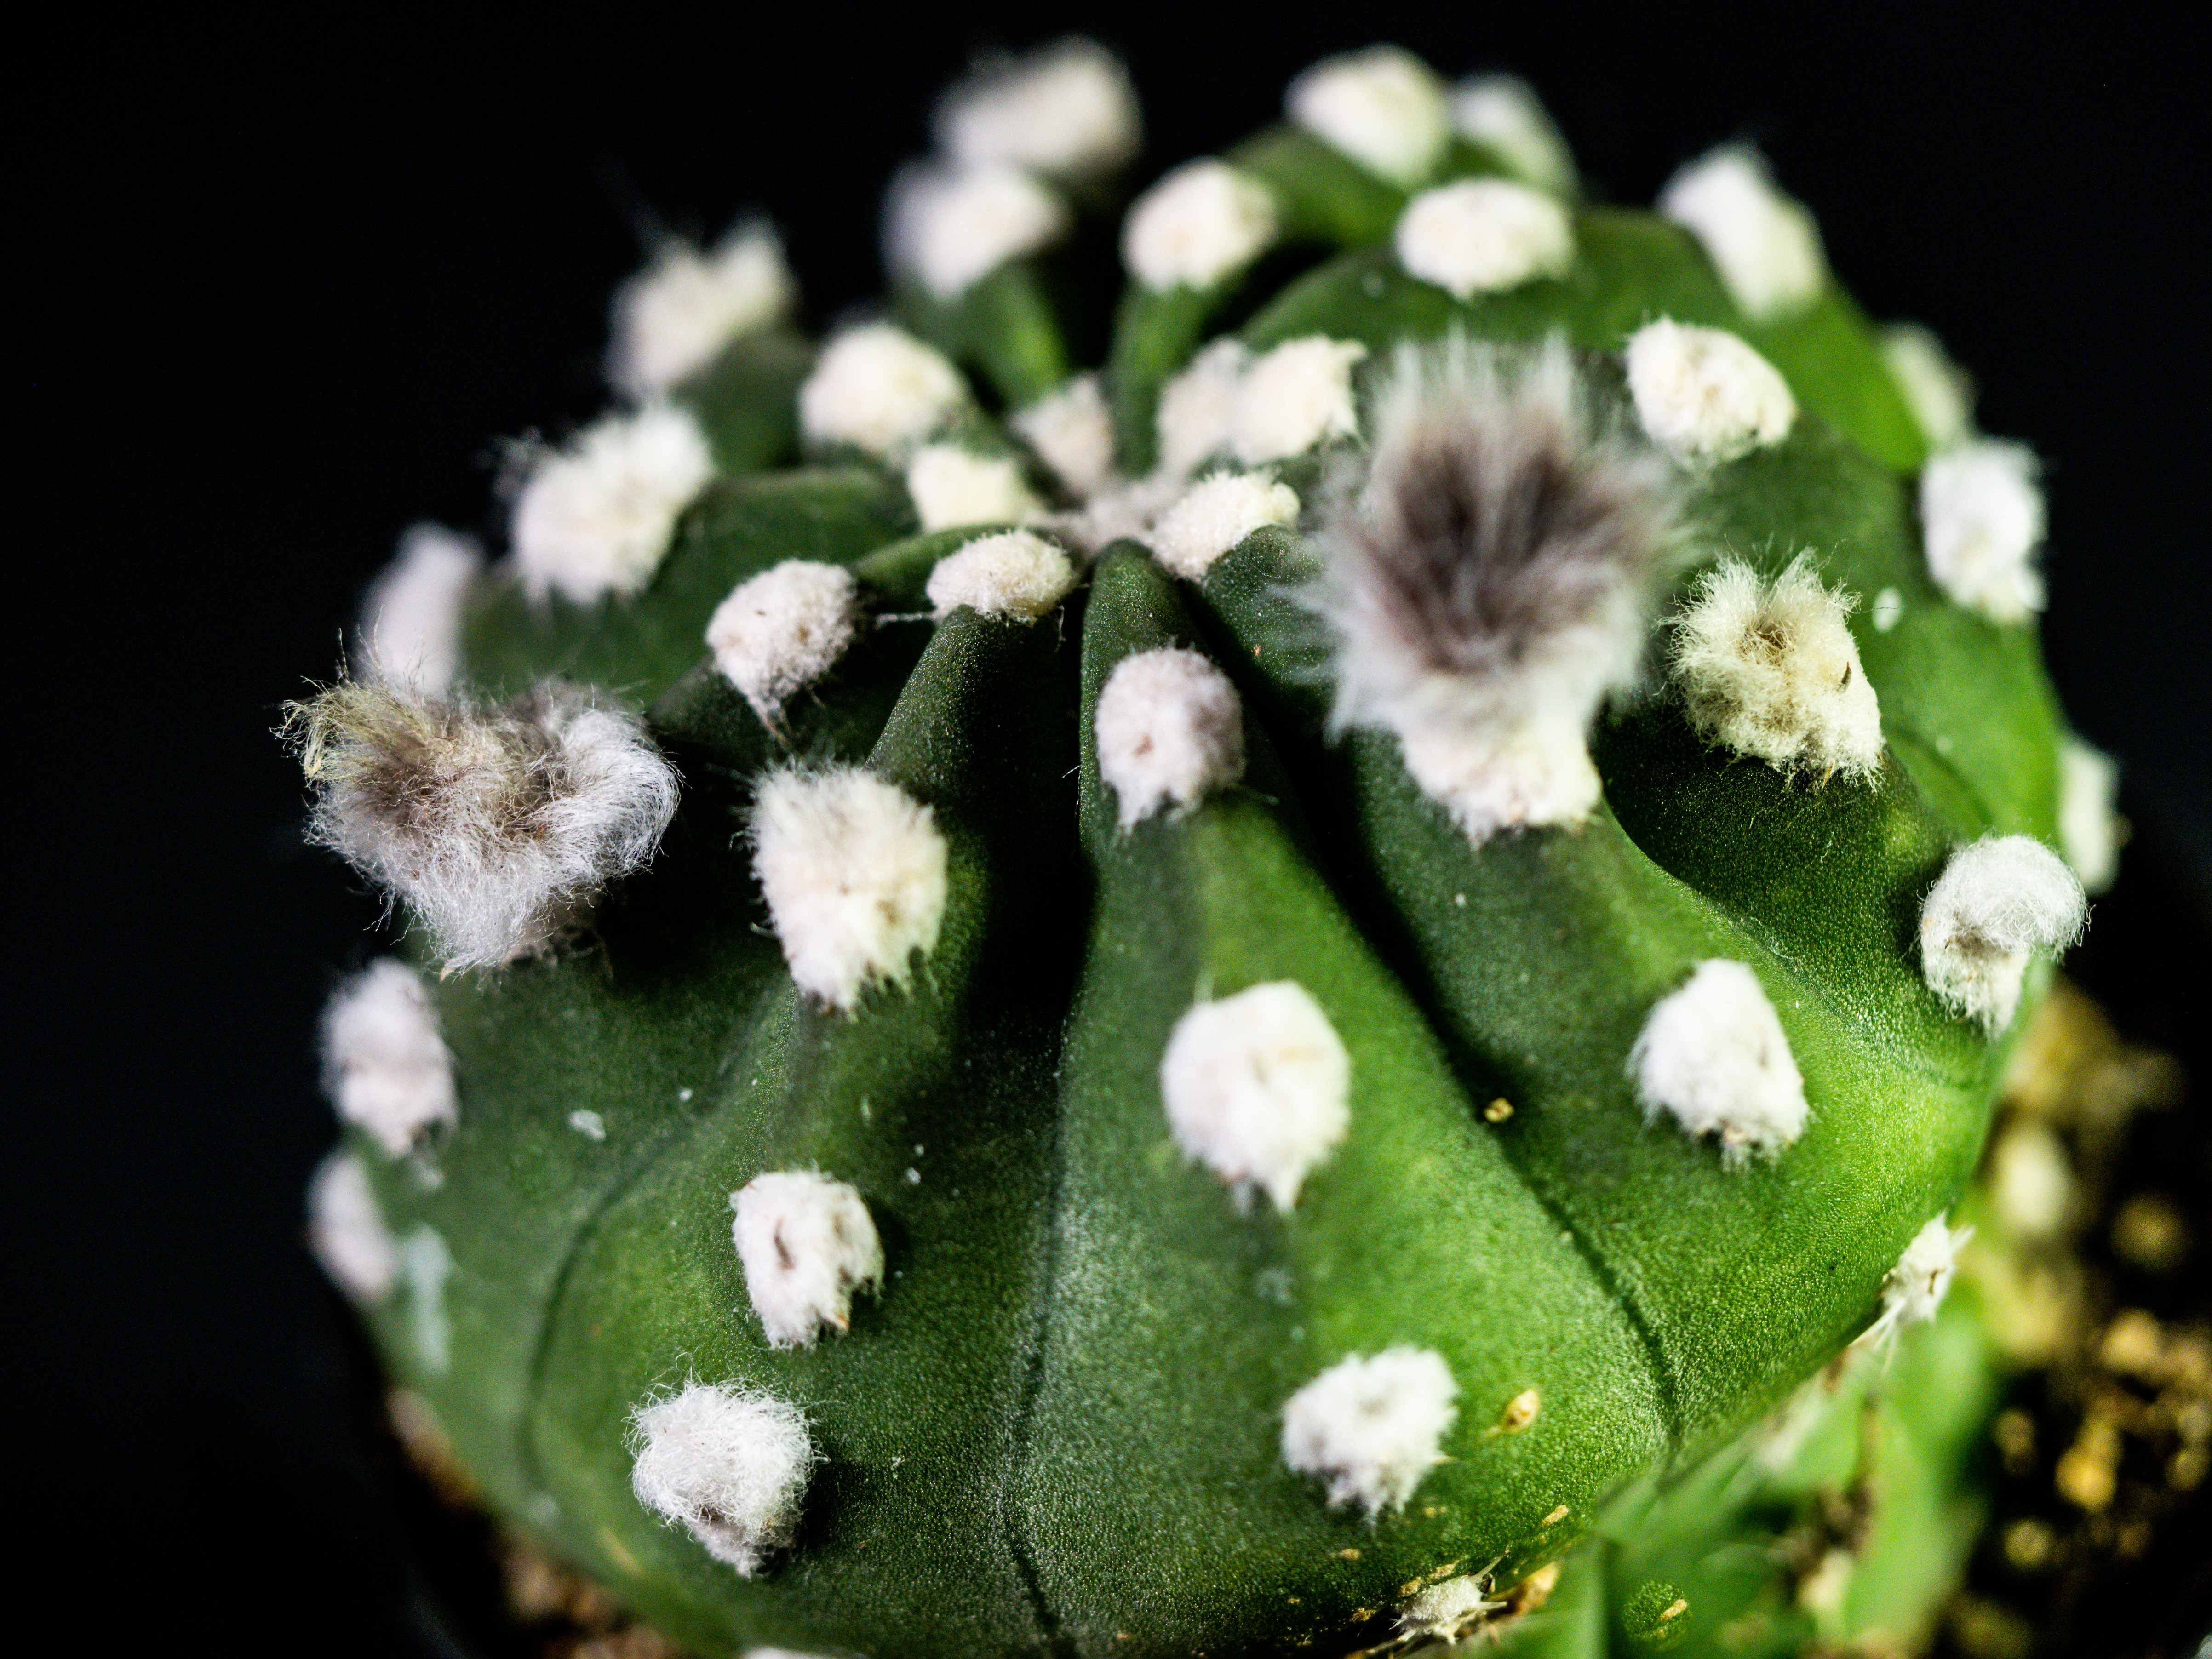
One of my Echinopsis cacti was beginning to flower last week, and I took this picture using AF in the simplest way.I set the mode to auto-focus with all 121 AF points activated and took the picture by operating the shutter. As you can see, when the AF algorithm chose the focal point, it was located near the stem of the flower stalk.
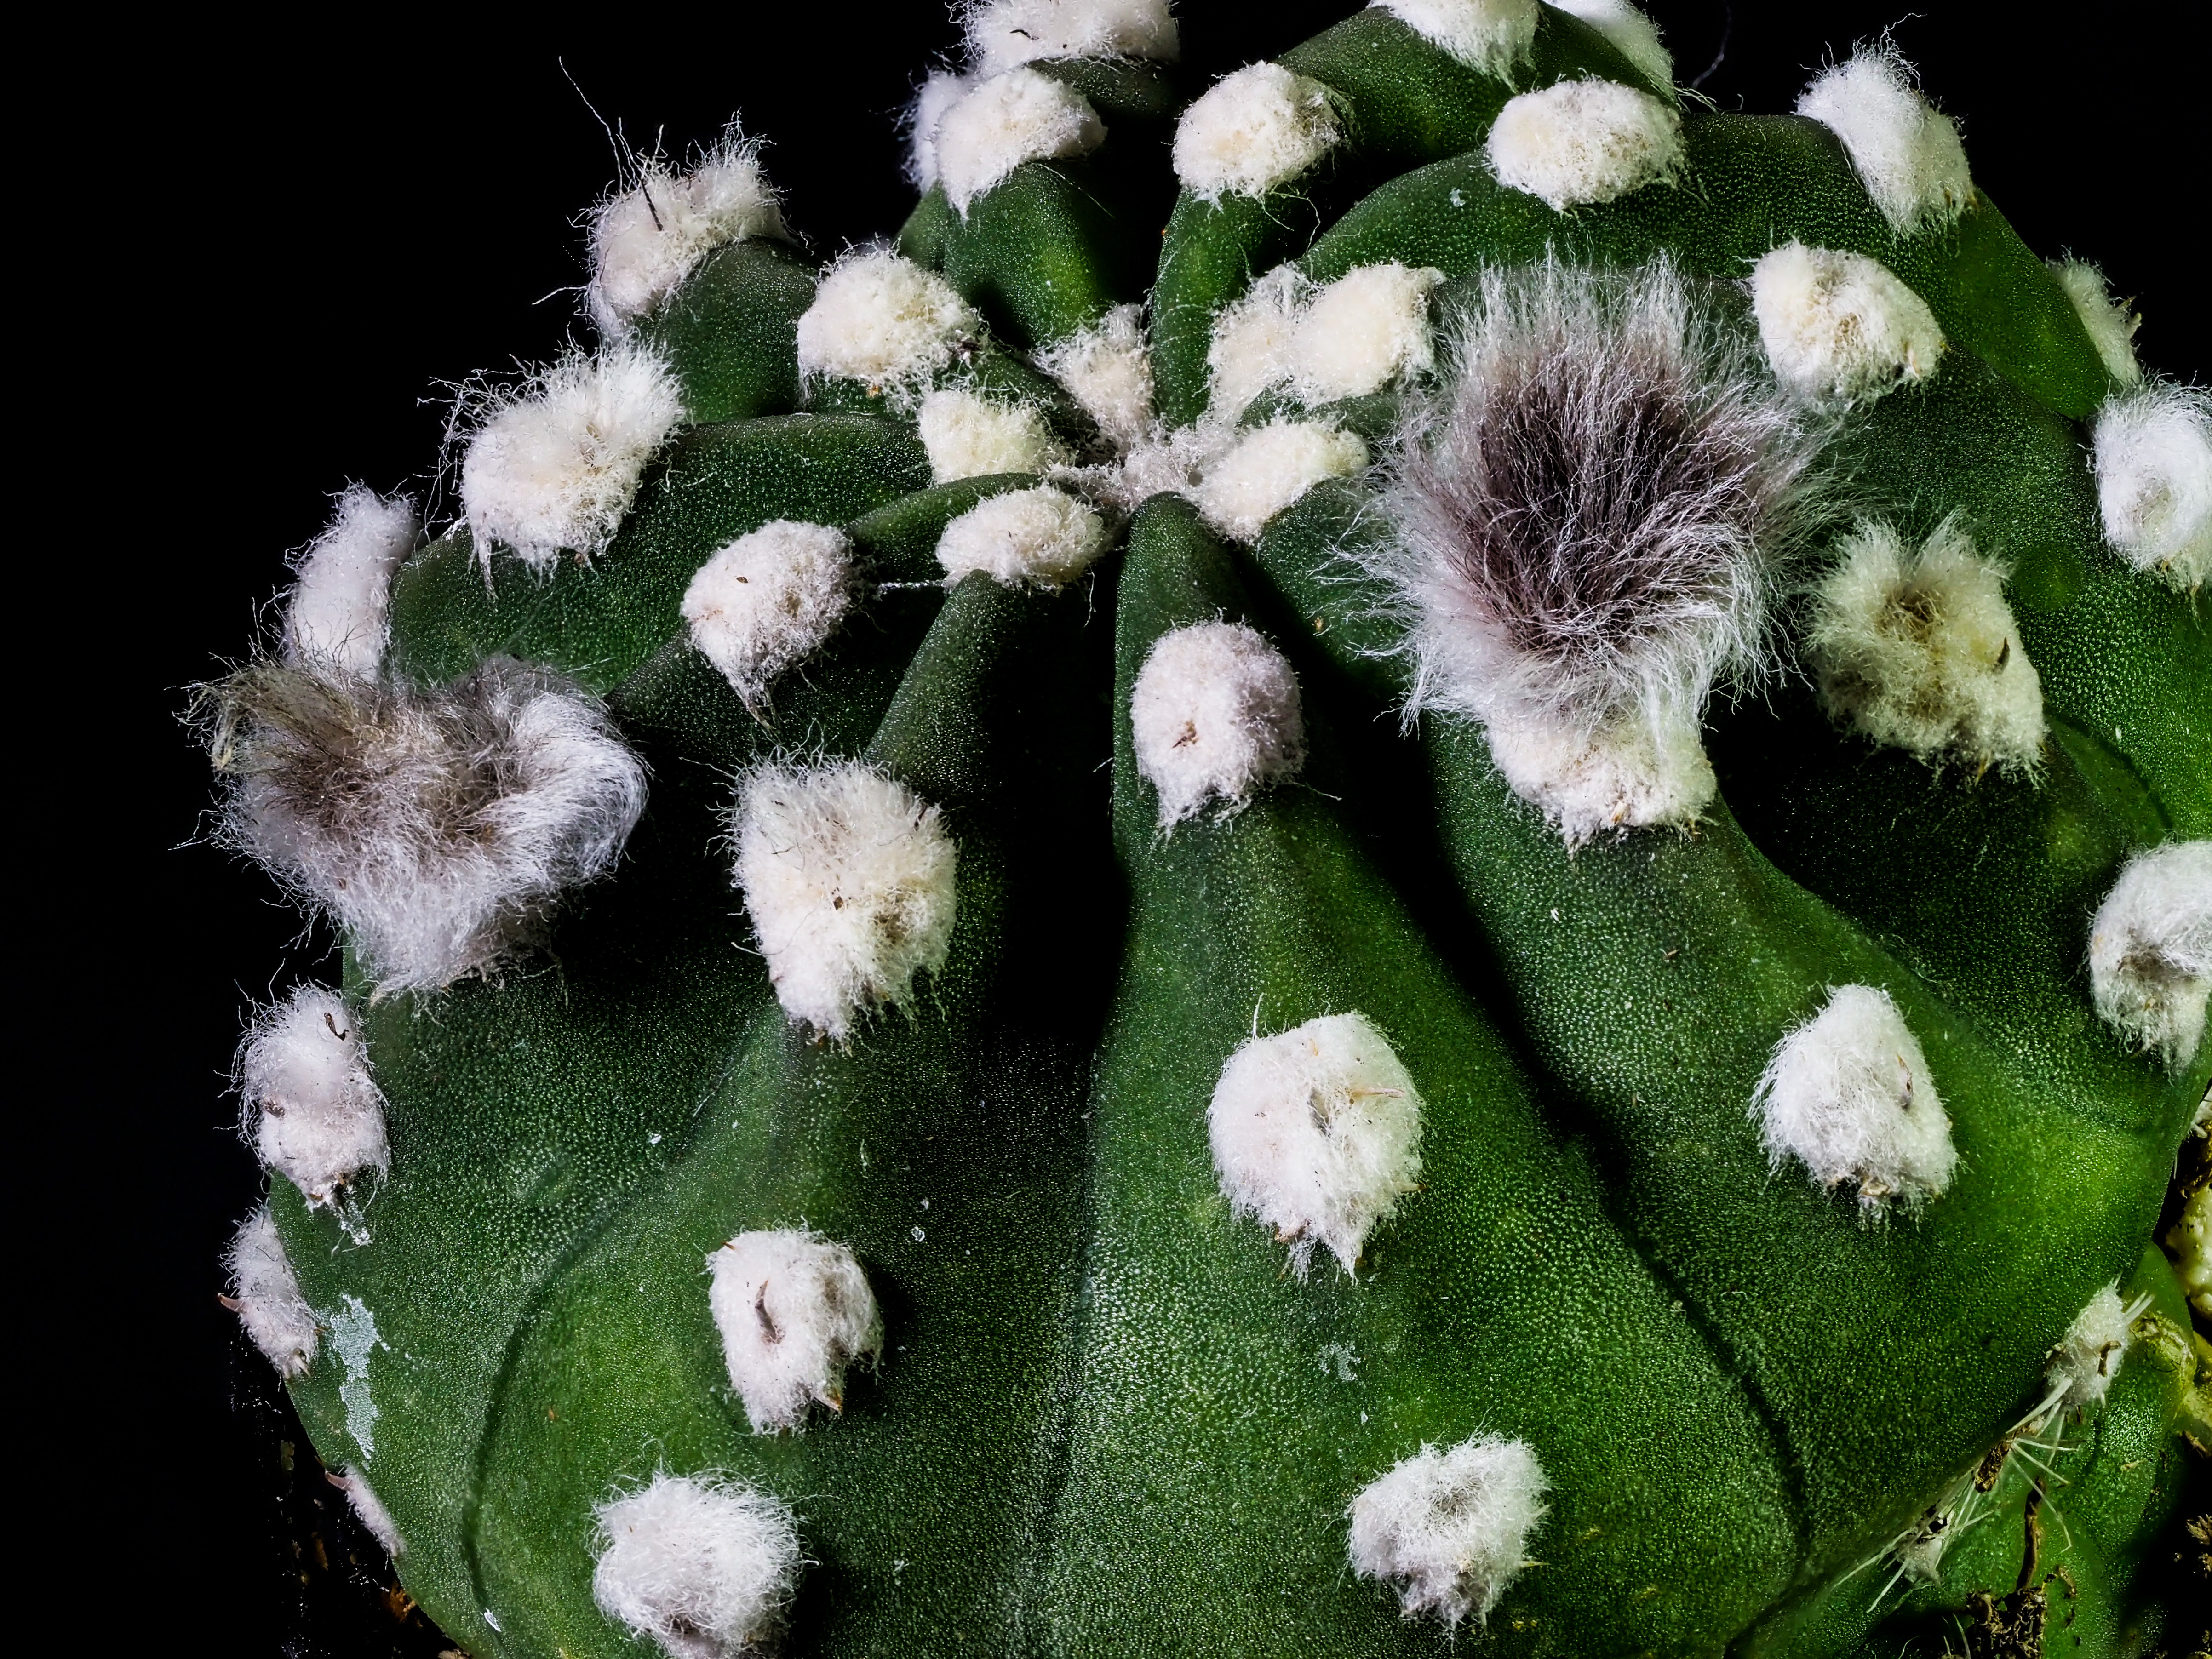
But the image I wanted would have the focal point on the end of the stalk, where the flower was emerging, like this:

There are several methods to separate focusing from composition; all work well. The “best” one for you depends on your preferences and the characteristics of your camera, as well as the specific situation you are working with. I will describe three techniques to achieve this separation. The first step in each of them is to use a very small set of AF points and I generally use just one. As discussed in the last entry, this allows maximum precision in the location of the focal point.
Reducing the number of active AF points introduces a new parameter. This is a schematic of 4 different sets of AF points my Olympus EM1 camera uses (from its manual):
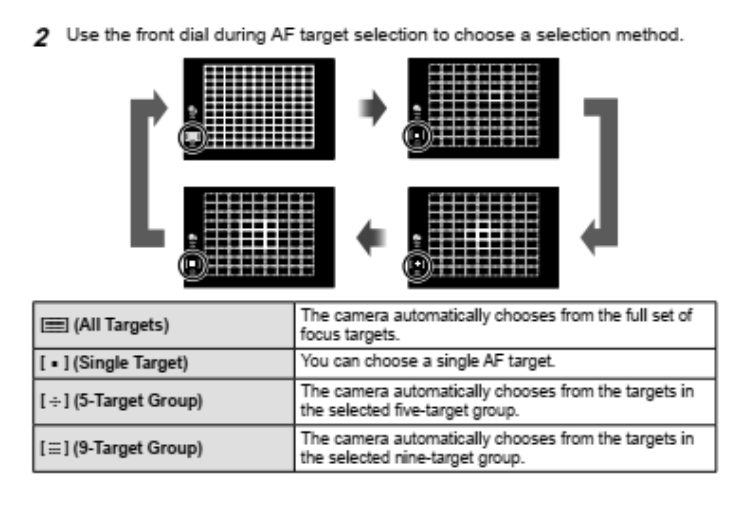
The highlighted squares in each of the four arrangements indicates which AF points will be used. In the one on the upper left, all 121 (11×11) points will be used to “automatically choose” the
targets, which fill the screen. Once the number of active points is reduced, however, it is necessary to specify the placement of the active set of AF points within the image. (For most cameras, the default is in the center). There are basically two methods to place the focal point (in addition to the halfway depression of the shutter already described).
One way is to tell the AF system where you want the active AF point(s) to be located. Any camera that offers a choice of the size of the AF point array will provide a way to move that location around before taking the shot. This usually involves using directional arrows among the camera controls or contacting touching the touch screen in the appropriate place. On my camera, I use a set of four arrow buttons to move the points around, and the location of the focal point is displayed with a colored square.
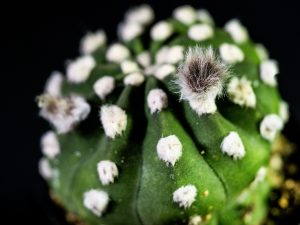
Here is another image of the Echinopsis, taken a week later, with two new flower stalks beginning to emerge.
The image was shot using focus stacking, a technique which integrates information from several images so that the entire image is in focus (to be described in detail in my next post). How would I go about making an image with one of the emerging stalks as the focal point?
I would get ready to take the shot by positioning the camera so that the image on the screen was composed as I wanted it in terms of positioning within the frame, orientation to the camera, lighting,
etc. Then I would press the button on my camera that highlighted the location of the AF points on top of the image and use the directional buttons to position the yellow square over the desired focal point.
Then I’d take the picture. I’ve done that with two different focal points in the images below, using f/2.8 to keep the depth of field narrow. The only difference in how I took the images was the positioning of the single AF point. For the image on the left, the focal point was positioned on the larger stalk; for the image on the right, on the smaller stalk further from the camera.
The third option for positioning the focal point is called “back button focus”. This method requires a camera with programmable buttons (usually located on the back of the camera) that can be assigned specific tasks, which allows customization of your camera to your photography. The first step is to decide which button to use. Pick one that you rarely need. I almost never take video, so I have chosen
the red video shutter button on my Olympus. This button normally starts and stops video and I have programmed it to be the back focus button. As a result, I can then focus on the desired focal point and press and release that button. This freezes the focus until I either operate the regular shutter button or press the red shutter button again. Whenever this button is operated, the camera “freezes” the focus.
By that I mean the focal distance is set and remains unchanged until I either take a picture or press the back focus button again, either of which unfreezes the focus. This has the advantage of leaving your
finger free to be used for other purposes, like holding the camera steady.
Once the button is programmed to freeze focus, the procedure is simple. Set the number of AF points in play to one. With this setting, only one spot is used to choose the location of the focus point, and the default setting for the location of that spot is usually in the middle of the image. In order for that to work, it is necessary to position the desired focus point in the middle of the screen. I positioned the camera so that the point I wanted in focus was in the center of the image on my live view screen and pressed the programmed button, freezing focus. Now all I have to do is move the camera around until I have the composition as desired and take the picture. The desired focal point will be in focus. The only
caveat is that the camera to focal point distance cannot change …. If you decide to move the camera closer to or further from the desired focal point, you need to reset focus. There is a good discussion at
this website: https://www.colesclassroom.com/back-button-focus-explained/